


In this tutorial, we will learn Jenkins introduction, How to Install Jenkins on Windows in your system and How to start Jenkins with command prompt.
Table of Contents
What is Jenkins?
Jenkins is the best DevOps tool for continuous integration and continuous delivery on any platform. It is an open source automation server. It provides hundreds of plugins to support, building, deploying and automating any project.
Why Jenkins?
- This is required in any software development life cycle and very useful.
- When developers develop code and build new features continuously that needs to tested on regular basis and this can be done by Jenkins tool.
- Test cases also developed on daily basis for new features.
- This makes developers comfortable with their feature in early stage than getting surprises at later stage.
Prerequisites:
First, we need to download JDK. Jenkins currently supports only Java8. If you need to take help to download and setup JAVA_HOME path in your system. Click on below link-
How to download JDK and set JAVA_HOME Path
There are few steps to install Jenkins.
Follow below steps to download and install Jenkins
- Download Jenkins .war file by Click Here
- Placed the downloaded .war file into your computer disk
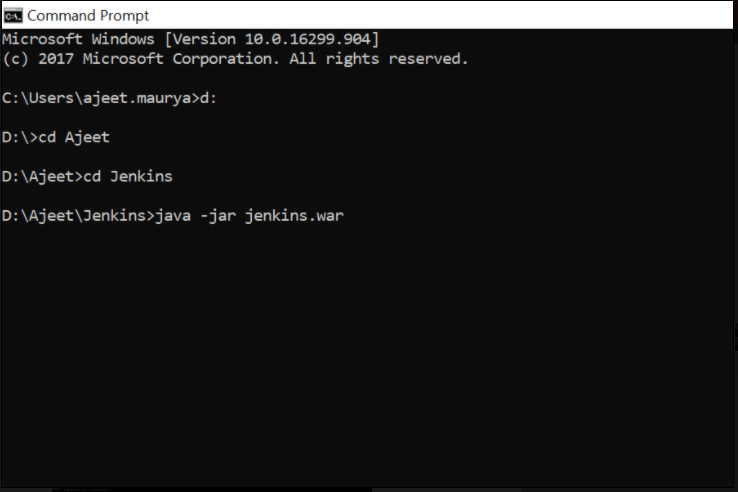
How to start Jenkins
Now we can start the Jenkins. Follow below steps to start it
a) Open Command prompt
b) Go to path where jenkins.war file stored and hit below command-
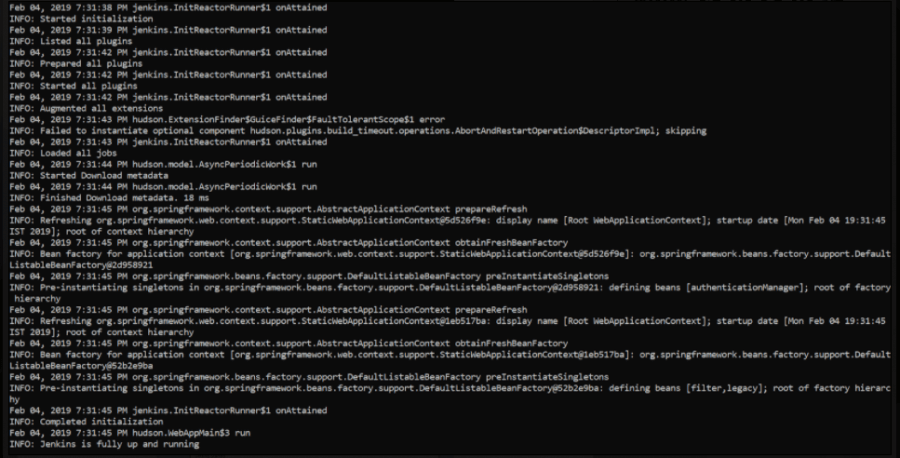
java -jar jenkins.war


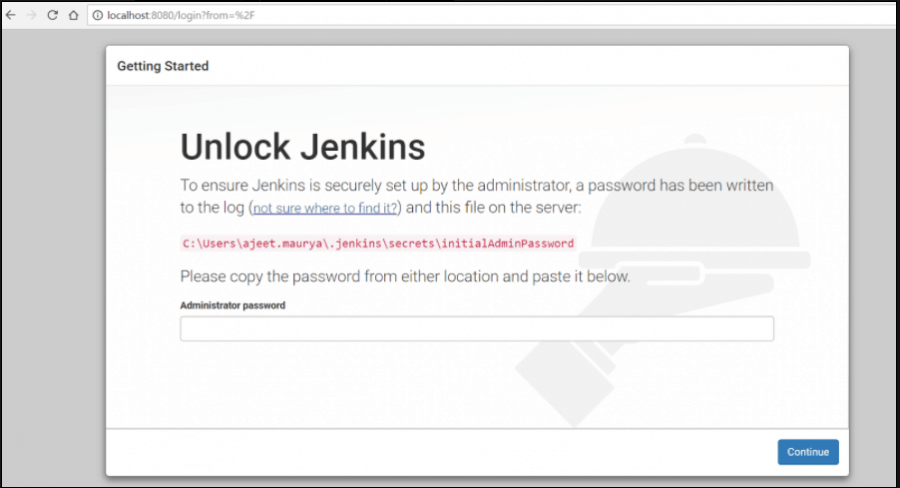
3. Now go to browser and hit this URL localhost:8080. Below image will show you and ask for admin password. Go to given path (path is showing in the image) , copy the password and enter here and click on continue.

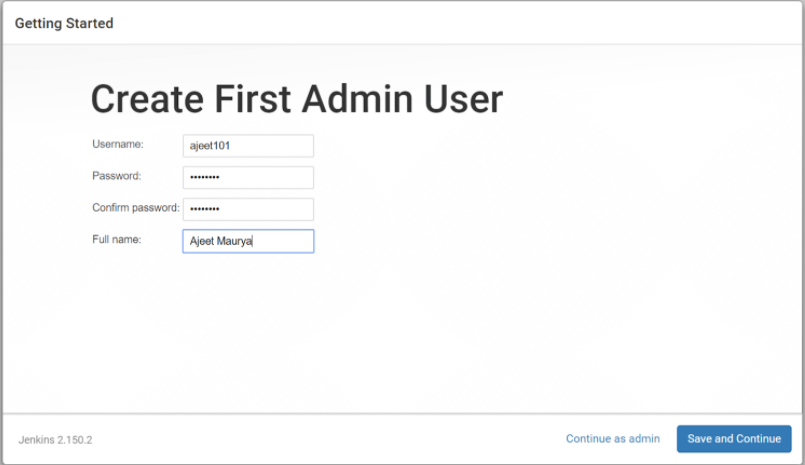
4. Now click ‘Install Suggested plugins’. After install necessary plugins,below page is showing to create a first admin user. Enter all data and click on Save and Continue button.

5. Now admin user has been created.


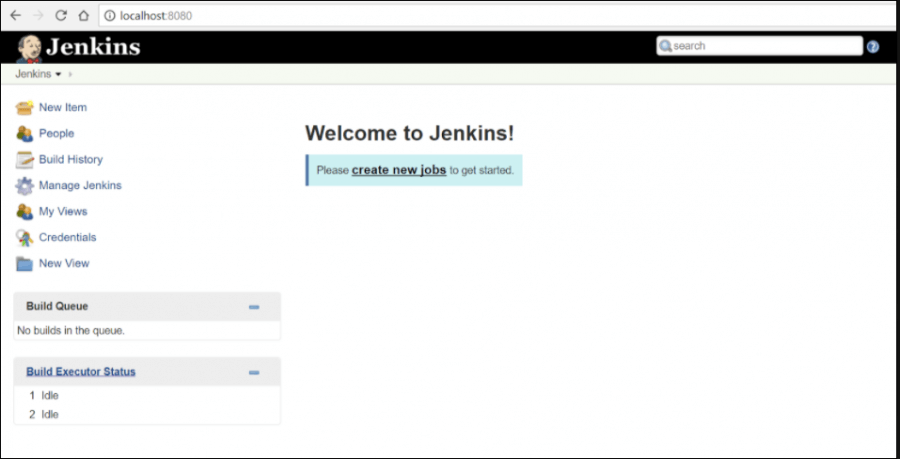
6. Now Jenkins is up and run, ready to use and create Jenkins job.

Note:- By default it will open on localhost:8080 server. But if you want to start it on different server then use below command–
Java -jar jenkins.war –httpPort=8086
Now it will open Jenkins on localhost:8086
How to Install Jenkins in Linux
To install Jenkins on Linux, follow below steps-
1.Jenkins is a java application, so first step to install the Java in your system.
Run below command to install the JDK package:
sudo yum install java-1.8.0-openjdk-devel
2. Next steps to enable the Jenkins repository. To do this, import GPG key using curl command.
curl --silent --location http://pkg.jenkins-ci.org/redhat-stable/jenkins.repo | sudo tee /etc/yum.repos.d/jenkins.repo
Add the repository to your system using
$ sudo rpm --import https://jenkins-ci.org/redhat/jenkins-ci.org.key
3. Once the repository is enabled, we need to installed latest version of Jenkins by typing:
$ sudo yum install Jenkins
4. Start the Jenkins service:
$ sudo systemctl start Jenkins
5. To check Jenkins is stared or not.
$ systemctl status Jenkins
Summary
In this tutorial, we have learnt “How to install Jenkins on Windows” and “How to Install Jenkins on Linux”
Hopefully, this post was helpful to you.
Bookmark this Post “How to Install Jenkins on Windows” for your future reference.
If you have any other questions, the comment section is yours. Don’t forgot to leave a comment below!